Planet Stock Photo Contributor User Guide
1. How to Become a Planet Stock Photo Contributor
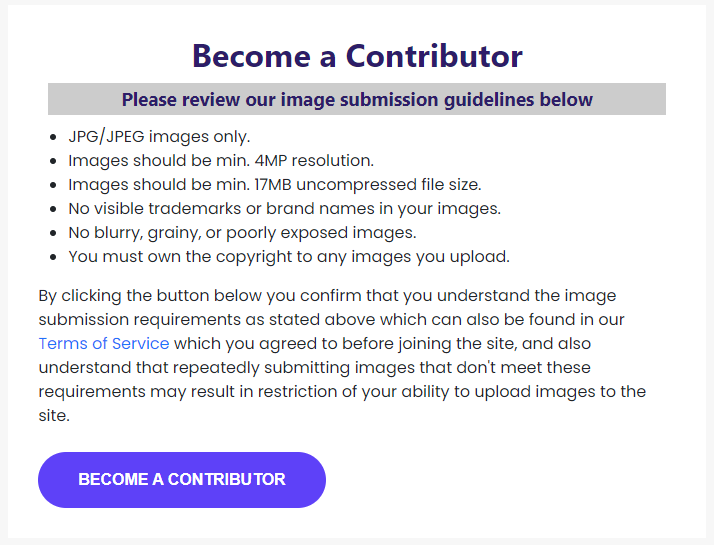
After you’ve registered as a user, you can opt to become a contributor. You’ll be asked to confirm that you understand the image submission requirements and Terms of Service which you previous accepted before joining the site. Thats' it! Just hit the button below and wait for your welcome email. This confirmation email contains the next steps in the onboarding process.
2. How to Update Your Display Name and Portfolio Username
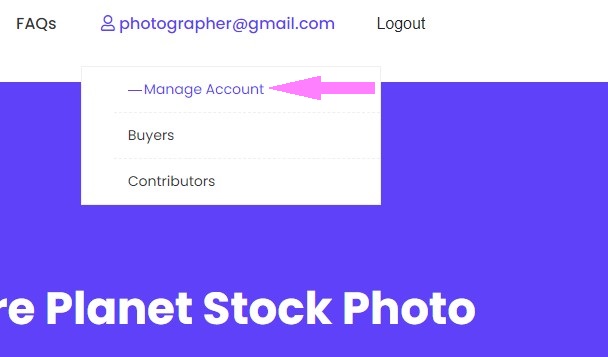
After you’ve received your confirmation email, you can continue creating your contributor profile. Log in to the website, click on your username (which is your email address) in the top navigation menu, and then click on “Manage Account.”
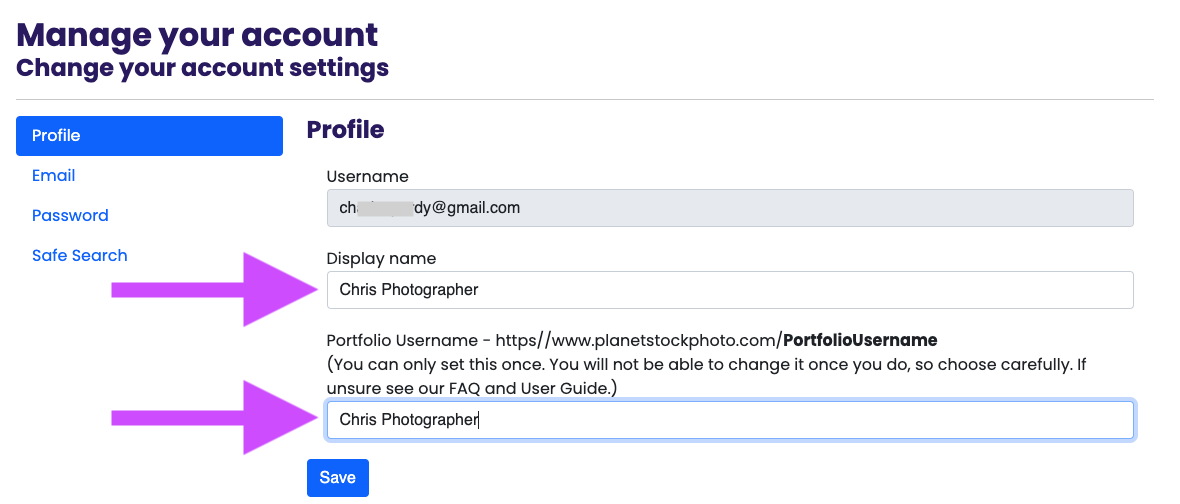
In the Profile tab of the Account Settings page, you’ll be able to set your display name and your portfolio username (choose your portfolio username carefully, as it cannot be changed later). Note that your portfolio username will make up part of the URL for your portfolio page; any spaces in your portfolio name will become hyphens in the URL.
3. How to Upload Images and Make Them Available for Sale
Step 1: Batch Images for Easy Asset Management
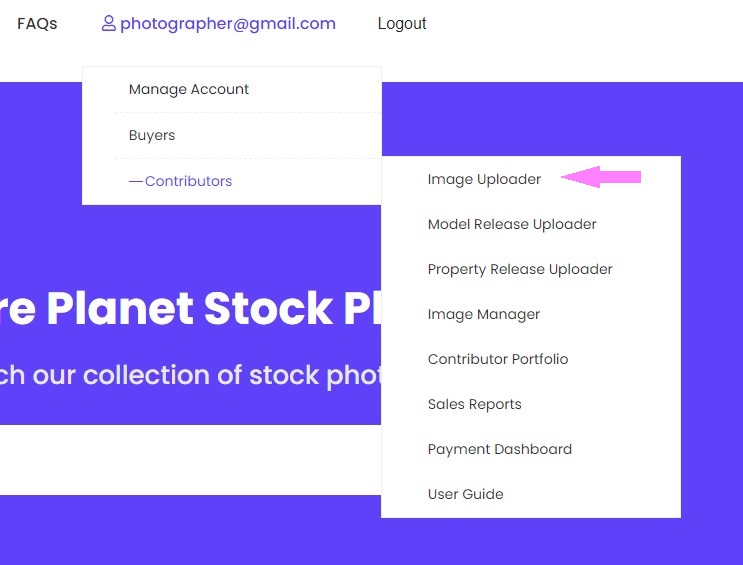
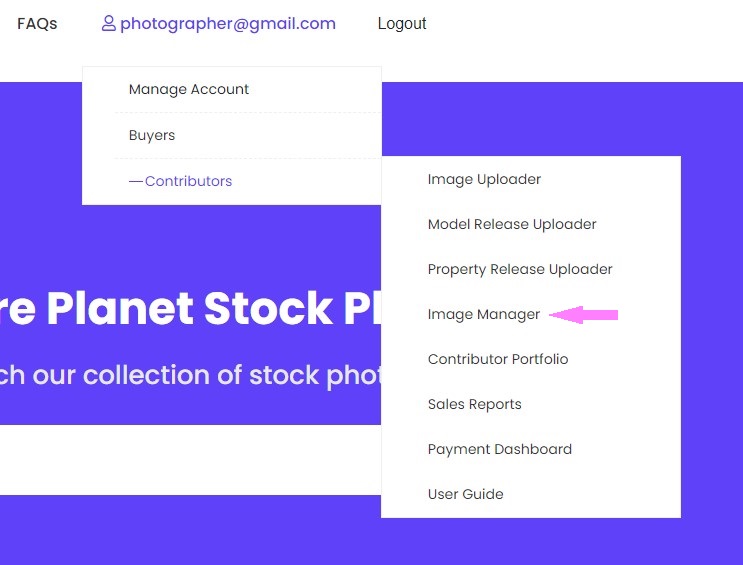
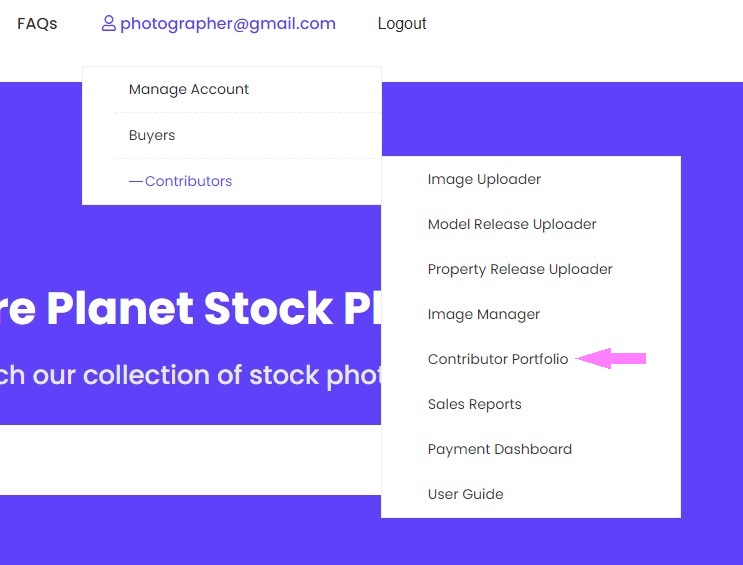
You’re now ready to begin uploading images. Click on your username in the top navigation menu; then choose “Contributors” and “Image Uploader” from the sub-menus.
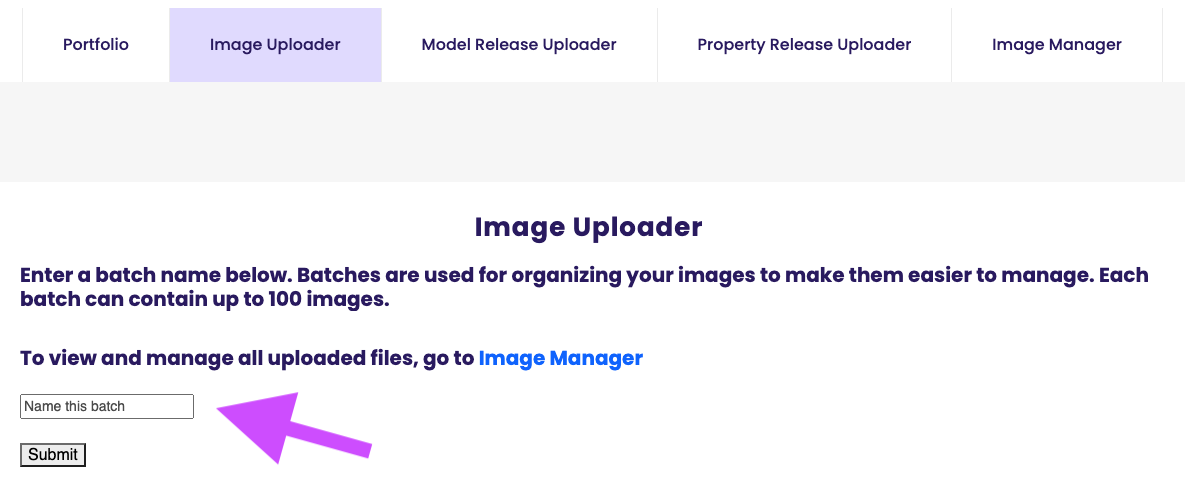
Images can be uploaded in batches (to make them easier to manage). Each batch can contain as many as 100 images. Before uploading a batch of images, you must name the batch. Then click on “Submit.”
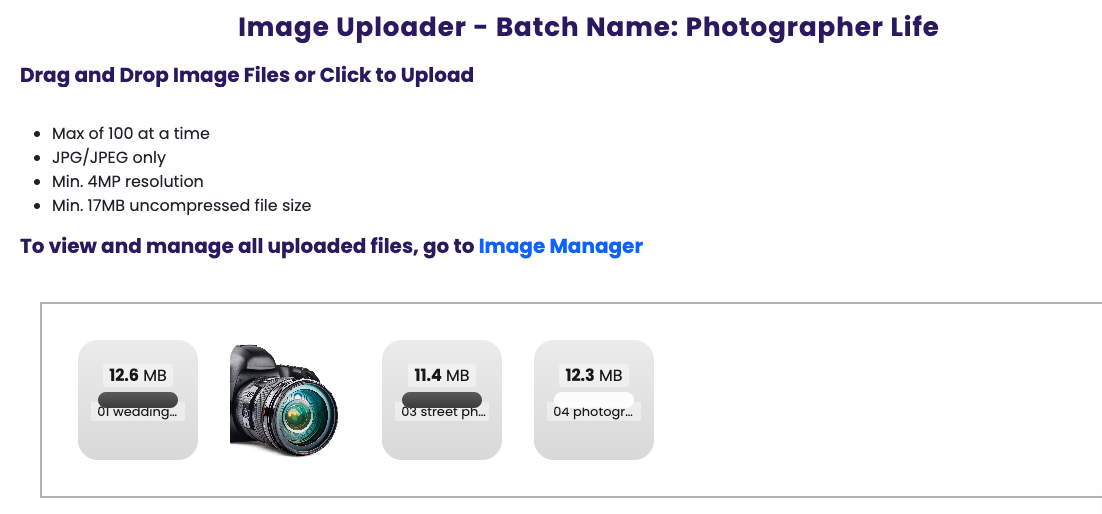
Step 2: Drag and Drop Photos to Upload
You can drag and drop your photographs to upload them into the batch you just created. All photos must be JPG or JPEG files, the uncompressed file size of the image must be 17MB or greater, and the image resolution must be 4MP or greater. Images that do not meet these criteria will be rejected.
Images that meet the preceding criteria will be manually reviewed by us (typically within two business days).
Step 3: Edit Image Details
After an image is approved, you will be able to edit image details. You must give an image a title and assign at least five keywords to it before it will be visible and available for sale on the site.
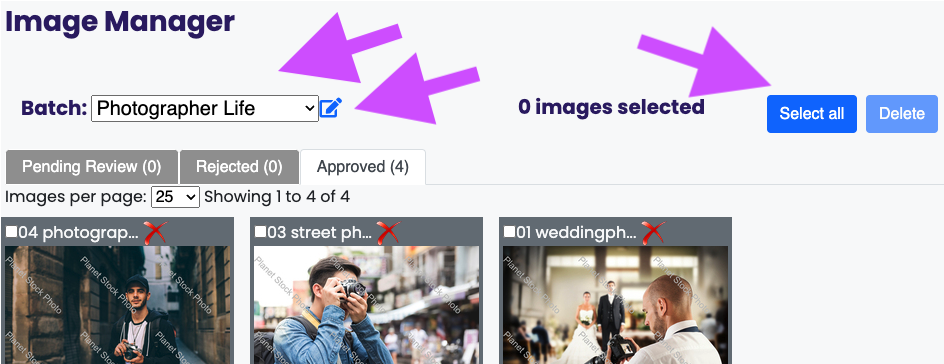
Approved images will appear in the Image Manager.
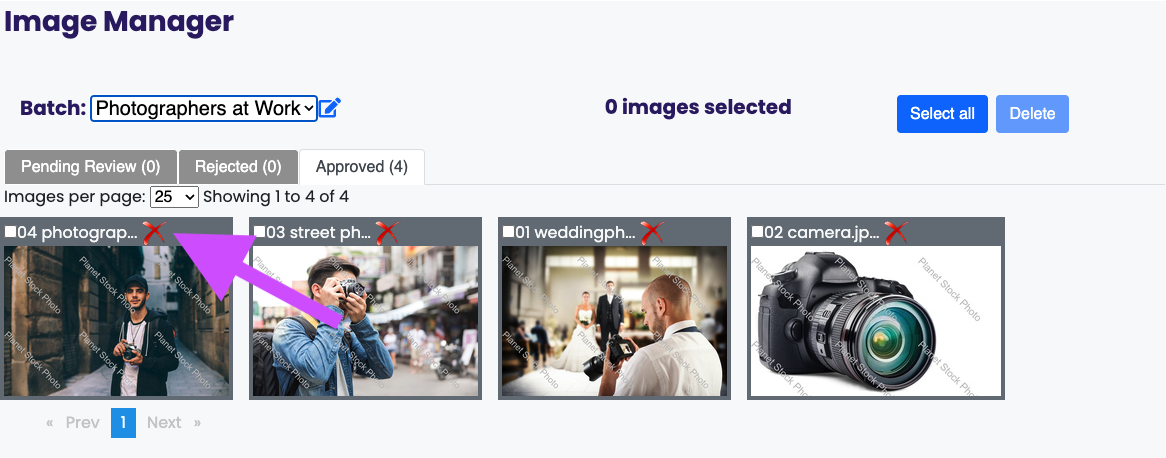
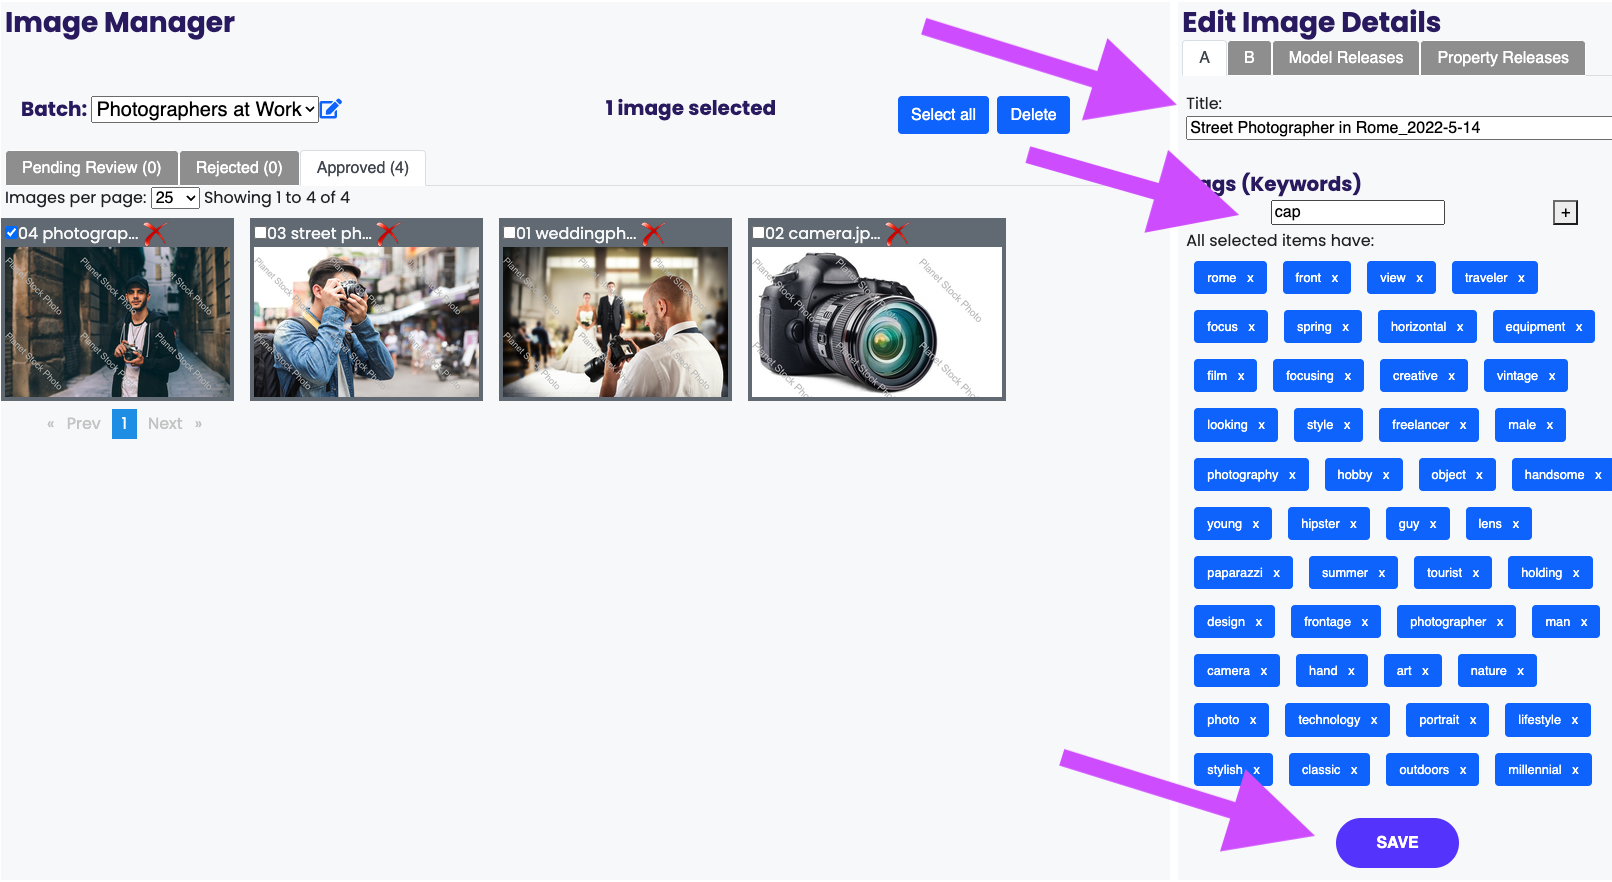
Before you can edit an image, you first need to select the batch that it’s in, via the Batch dropdown menu. Once a batch is chosen, you can either select individual images to apply the changes to or select all the images in the batch by clicking on "Select all.” You can also rename the selected batch by clicking on the pencil (“edit”) icon to the left of the dropdown menu.
A red X in the gray bar on top of the image indicates that it has been approved but that it hasn't yet been updated with a title and keywords. (Rejected images in the Image Manager are periodically permanently deleted.)
When you select an image, you’ll be able to give the photo a title and assign keywords to it. Titles and keywords entered as IPTC metadata in Lightroom are imported and shown as the defaults. Blue keywords are keywords that have been applied to the image (you can remove a keyword by clicking on the X to the keyword’s right). Add new keywords by entering them in the Tags text field and then clicking on the plus sign.
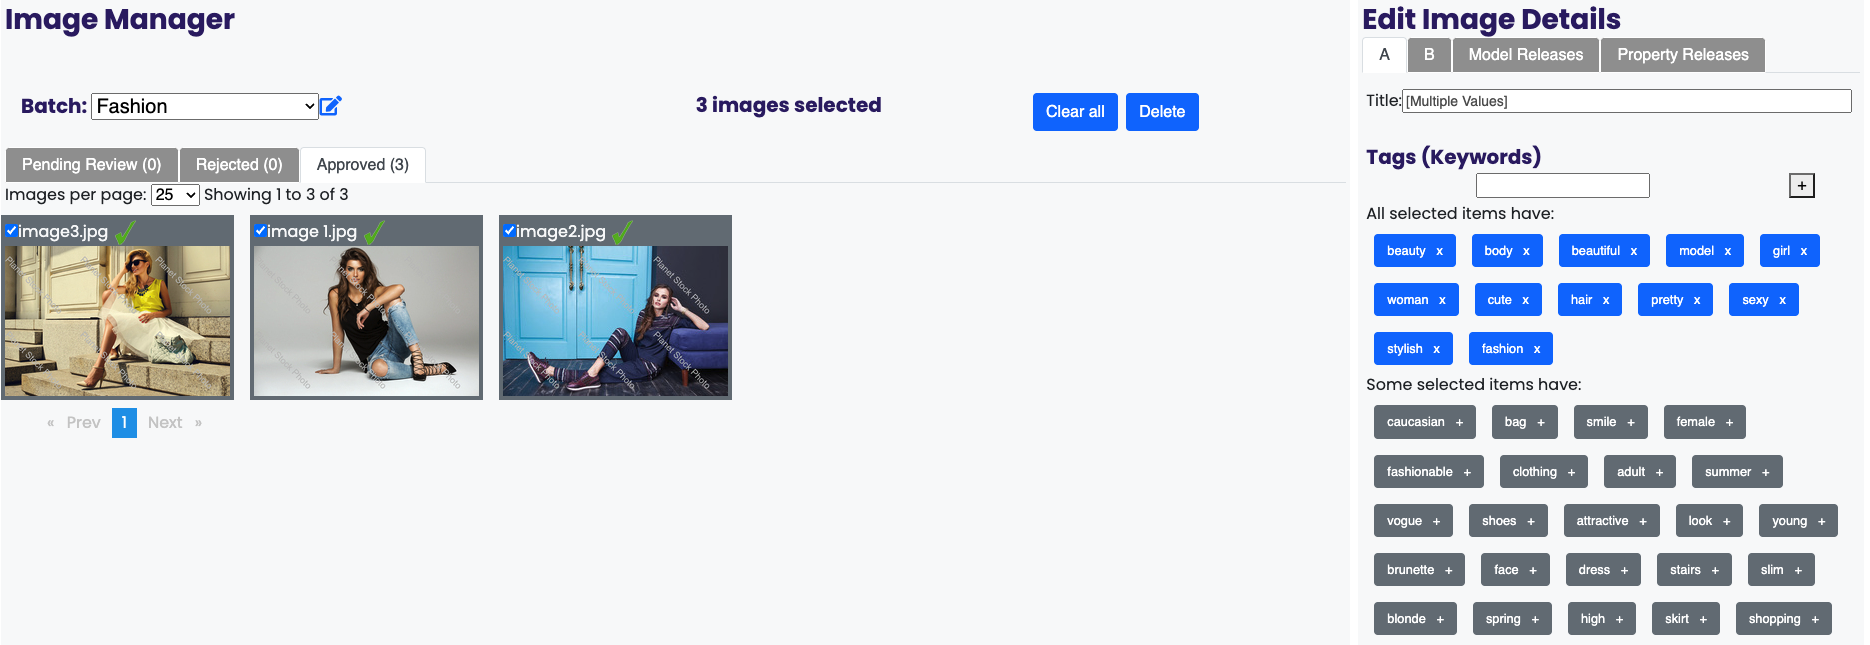
When multiple images are selected, you may see some suggested keywords in gray. They are keywords that apply to some of the selected images but not all (you can add one of these keywords by clicking on the plus sign [+] to the keyword’s right). The keywords in blue apply (or will be applied when you click on “Save”) to all selected images. Clicking on a keyword in blue will remove it from all the selected images.
Make sure you read the following sections on releases and adding more metadata before finishing — adding more metadata to your images and assigning releases (if applicable) will make them likelier to sell.
If you would like to set a different price for the selected images, you can also do that at this stage.
When you are finished, click on “Save.” For each image, even if you haven’t added any new metadata, you must click on “Save” to make it visible and available for sale on the site.
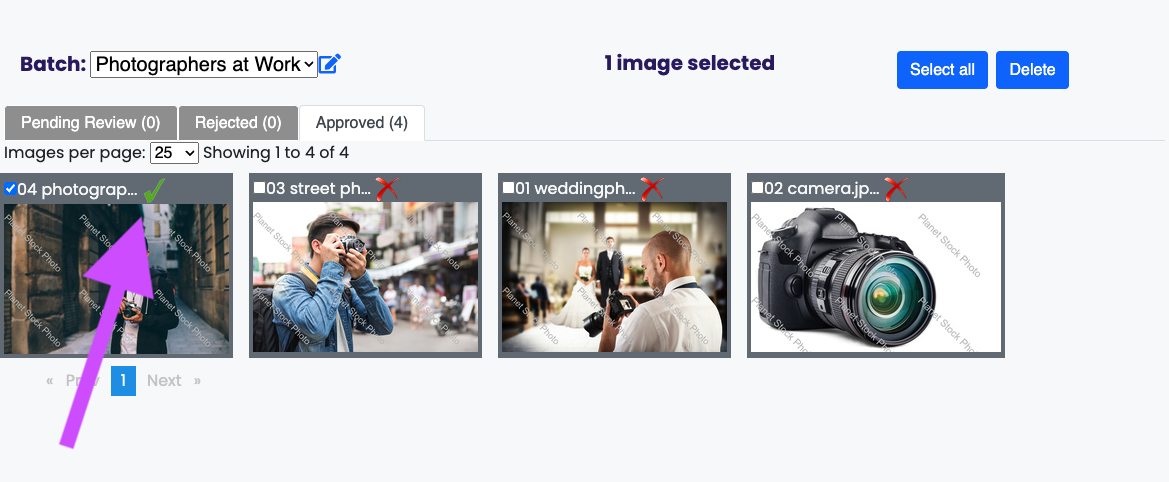
A green checkmark on the top of the image indicates that it has been updated and is now visible and available for sale on the site.
Note that you may occasionally need to refresh or reload the webpage to see your latest changes.
4. How to Upload Model Releases and Property Releases
As with images, you can upload model releases via the Model Release Uploader, and property releases via the Property Release Uploader — both of which are available through the top navigation menu, as well as through tabs on your contributor page.
Drag and drop to upload files (model releases and property releases must be PDF files).
5. How to Use the Image Manager to Add More Metadata and Assign Releases to Your Photos
Step 1: Upload Model and Property Releases
After you’ve uploaded model releases and property releases (if they are needed) for your photos, you can update your photos’ metadata. First, navigate to the Image Manager.
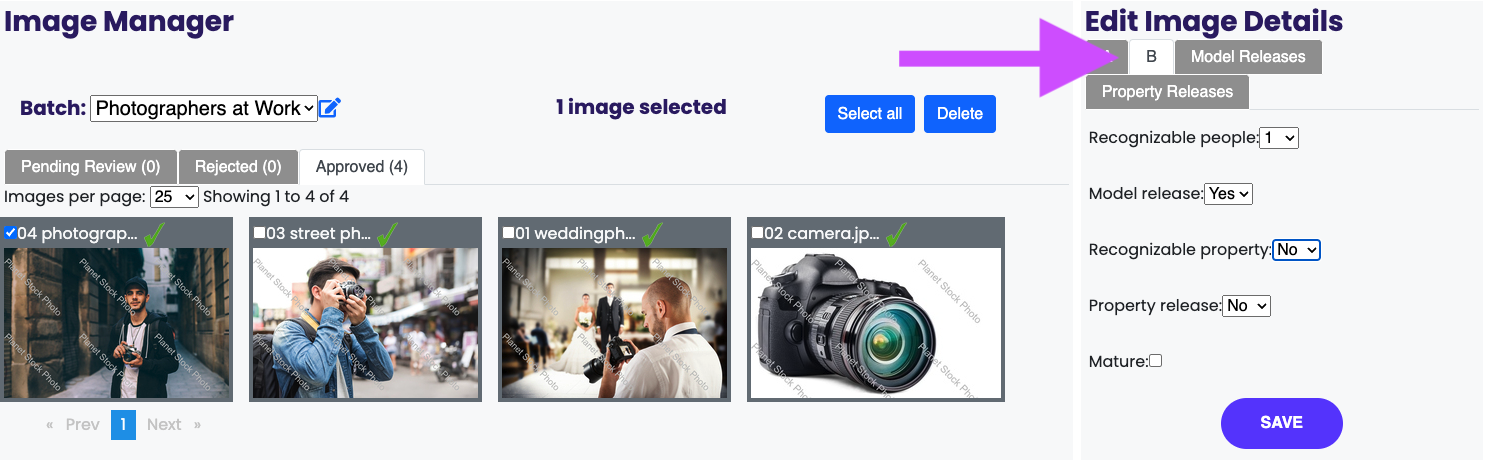
Select a batch to work with, select a photo (or multiple photos), and then choose the “B” tab under Edit Image Details. You’ll see four drop-down menus that can be modified to describe the photo, as well as a checkbox you can tick to indicate that an image is intended only for mature viewers.
Be sure to click on “Save” when you’ve made your selections.
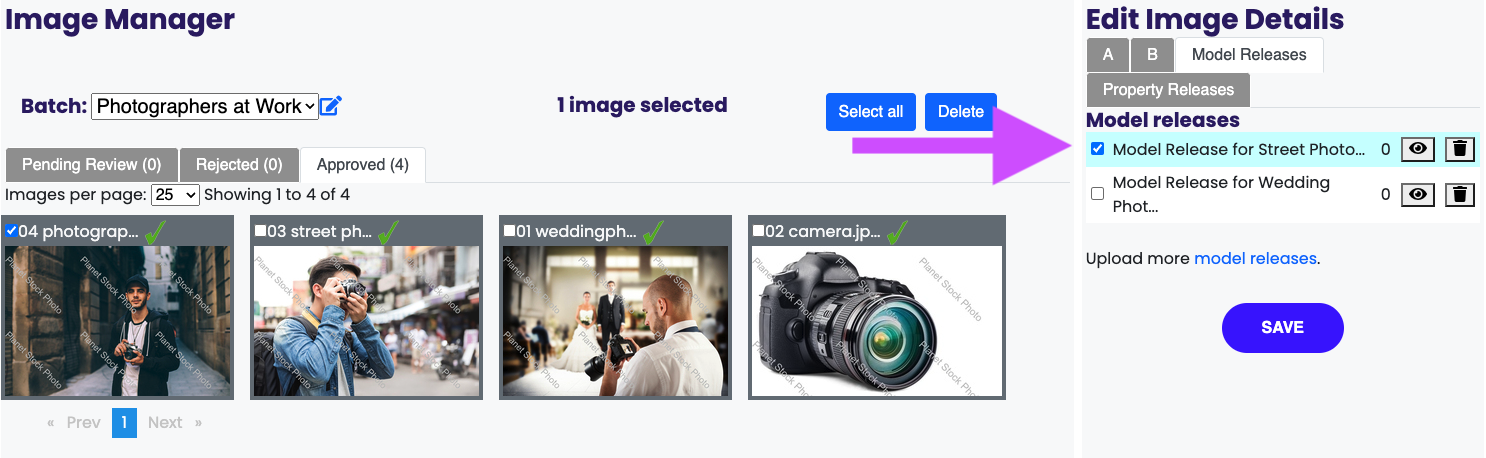
Step 2: Assign Model Releases
When you click on the Model Releases tab, you’ll see unassigned model releases that you’ve uploaded. Choose the release that applies to the photo you’ve selected, and click on “Save.”
Step 3: Assign Property Releases
Follow the preceding steps in Section 4 to attach property releases to your photos, via the Property Releases tab.
When you are finished, click on “Save.”
6. Your Contributor Portfolio
You can view your contributor portfolio page at any time by navigating to it.
7. Your Sales Reports
You can view details of images sold, sale amounts, commission earned, total sales, and total commission earned for each month by navigating to your Sales Reports page.
Planet Stock Photo charges a minimum of $50 for photos on its site. Contributors may set this amount or any amount greater than this for their photos. Contributors earn a 50% commission on each sale. Commissions are paid monthly.
Planet Stock Photo Contributor User Guide